You’ve got your podcast idea, your gear is set up, and you hit record only to find out later that your audio sounds off. Maybe it’s echoey, inconsistent, or full of popping sounds. Chances are, the issue isn’t your equipment. It’s your mic technique.
Whether you're just learning how to speak into a microphone, exploring how to hold a microphone while recording, or trying to figure out the best mic placement for your space, mastering the basics of proper microphone technique can transform your podcast audio from amateur to polished and professional.
From microphone placement techniques and mic positioning to how close your microphone should be to your mouth, getting the fundamentals right helps eliminate distortion, reduce breathing sounds, and improve clarity. It's not just about how to use a microphone; it's about how to make your mic sound better every time you record.
In this blog, we’ll break down the most common microphone mistakes podcasters make, like poor mic placement and choosing a condenser vs dynamic mic for podcasting, and show you exactly how to fix them.
Mic Technique Key Principles
Before you dive into recording your podcast, getting your microphone technique right is essential. Even the best mic on the market won’t help if you’re speaking into it the wrong way, knocking it mid-recording, or sitting too far back.
Ask any podcast producer and they will say the same thing…
Proper microphone usage with cheaper equipment is always better than poor technique on the best microphone in the world.
Remember that when you are starting your podcast and even when you’re recording your 100th episode!
These foundational tips will help you sound more professional, consistent, and clear every time you hit record.
- Choose your recording space wisely.
- Set your microphone position and stick with it.
- Always wear headphones.
- Eliminate handling noise – sound travels far!
- Control your plosives.
- Practice your delivery and do a test.
- Don’t forget to breathe!
We’ll go into each of these in more detail further in the article. But first, let’s ask the why.
Why Does Proper Microphone Technique Matter?

You might have the perfect script, a compelling guest, or a million-dollar voice, but if your mic technique is off, your message can get lost in the noise. LITERALLY!
Clarity is everything. Listeners will tune out quickly if your audio is muffled, distorted, or full of distracting pops and background noise. Proper microphone positioning ensures your voice is captured cleanly, allowing your message to shine through.
Audio quality is one of the first things that separates a hobbyist from a pro. Even if you're just starting out, strong mic technique gives your show a polished edge and builds credibility with your audience.
Consistency helps with post-production. Poor mic technique, like inconsistent distance or random noise, makes podcast editing a nightmare. Good technique creates a stable, clean signal that’s easier to work with, saving you (or us!) hours in post-production and reducing the need for aggressive EQ or compression.
As your podcast grows, so will your production standards. Mastering mic technique early on sets the stage for higher-level improvements, from multiple mic setups to remote interviews and beyond.
5 Most Common Microphone Mistakes
Even with the right podcasting equipment and best intentions, small missteps in microphone handling can lead to big problems in your final recording. Let’s break down the most common microphone mistakes podcasters make and how you can avoid them with simple fixes.
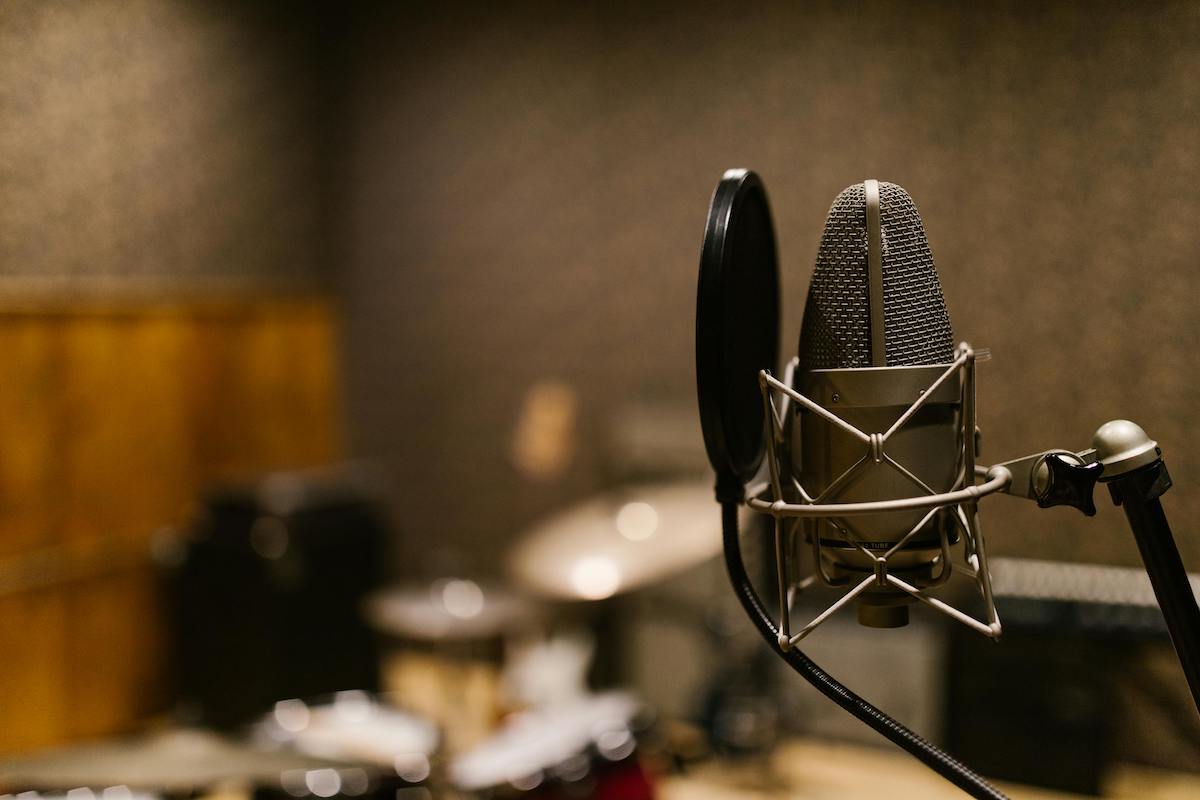
Poor Microphone Placement and Positioning
One of the biggest pitfalls podcasters face is placing the microphone incorrectly. Whether it’s angled the wrong way, sitting too far down the desk, or aimed somewhere other than your mouth, bad mic placement is the fast track to muddy, uneven, or echoey audio.
How to Fix It:
- Keep it at mouth level: The mic should sit directly in front of your mouth, ideally 6 to 12 inches away.
- Don’t aim it at your chest or nose: Angle it slightly toward your mouth, not at your throat, nose, or forehead.
- Avoid placing it flat on the desk: This captures keyboard clatter, taps, and vibrations. Use a boom arm or stand with a shock mount to isolate the mic from movement.
- Be consistent: Once you’ve found the right position, don’t move the mic—or yourself—mid-recording.
Saspod’s Top Tips:
- Use a pop filter or foam cover to soften harsh consonants.
- For dynamic mics, speak directly into the front (or top), not the side.
- Record a short test to check if your mic is truly picking up your voice clearly and cleanly.
Incorrect Distance Between Speaker and Mic
Too close, and your voice distorts with every plosive. Too far, and you sound like you’re recording from the next room. The distance between you and your microphone plays a major role in how natural and listenable your podcast sounds.
How to Fix It:
- Follow the “first rule”: A good starting point is to keep the mic about one closed fist away (roughly 6 inches). This helps maintain a balanced tone without picking up too much breath or background noise.
- Avoid crowding the mic: Speaking too close can cause popping, distortion, and an overwhelming low-end boost (known as the proximity effect).
- Don’t drift away mid-sentence: Stay at a consistent distance to keep your levels even throughout the recording.
- Mind your gain: If you’re too far, you might crank the gain to compensate, which increases room noise and hiss. Proper distance means less post-production hassle.
Saspod’s Top Tips:
- Monitor your levels using a VU meter—aim to peak around 6dB for optimal headroom.
- Use a pop filter to manage airflow and help maintain the right speaking distance.
- Do a short warm-up to practice staying “in the pocket” while you talk, especially during longer recordings or interviews.
Using The Wrong Types of Microphones
Not all microphones are created equal. Using the wrong type for your space or voice can lead to frustrating results. A condenser mic in an untreated echoey room? Probably not the best choice.
How to Fix It:
- Understand condenser vs. dynamic: Condenser mics are sensitive and crisp—great for treated studios. Dynamic mics are more forgiving and better at rejecting background noise.
- Match the mic to the environment: In a noisy or untreated space, go for a dynamic mic like the Shure SM58 or Samson Q2U.
- Use the right mic for your voice: Some mics enhance low-end warmth, others capture high-end detail. Test a few options to find what flatters your tone.
Saspod’s Top Tips:
- Add a pop filter or foam windscreen, especially with condenser mics.
- For on-the-go or video use, consider lavalier or headset microphones for clarity and mobility.
- Don't overspend right away—there are excellent budget-friendly podcast mics available.
Skipping Sound Check
Hitting record without checking your levels is like baking without preheating the oven. You might get lucky, but odds are something will be off. And the worst part is that you won’t know until it’s too late!
How to Fix It:
- Always do a short test recording: Speak at your natural volume and playback the clip to catch issues like hiss, hum, or plosives.
- Monitor with headphones: Don’t rely on built-in speakers—real-time monitoring lets you hear subtle problems before they’re baked in.
- Use your meters: Aim for consistent levels with peaks around -6dB to -3dB. If you're consistently hitting 0dB, you're probably clipping.
Saspod’s Top Tips:
- Build a pre-recording checklist that includes mic position, gain level, pop filter, and ambient noise scan.
- Try a short “test question” with guests so you can adjust levels before you dive in.
Overlooking Tech & Setup Factors
Great content can still sound poor if your technical setup isn’t dialled in. Ignoring gain structure, default input settings, or your recording environment leads to noisy, inconsistent audio.
Are we losing you with the podcast jargon? Check out our podcast glossary to get yourself fully clued in.
How to Fix It:
- Check your interface settings: Make sure your mic is selected as the input device and levels are properly adjusted.
- Understand gain vs. volume: Gain controls how much signal your mic picks up. Volume is how loud it sounds in playback. Don’t confuse the two!
- Treat your space: Soft furnishings, foam panels, or even a blanket fort can dampen echoes and cut background noise.
- Mute unused mics or inputs: They may be silently introducing hiss or interference.
Saspod’s Top Tips:
- Use directional mics (cardioid pattern) to reduce ambient noise and focus on your voice.
- Reduce computer fan noise by recording in short sessions or moving hardware away from the mic.
- Test your setup at different times of day—ambient noise levels can shift more than you think.
Condenser vs. Dynamic Mic for Podcasting
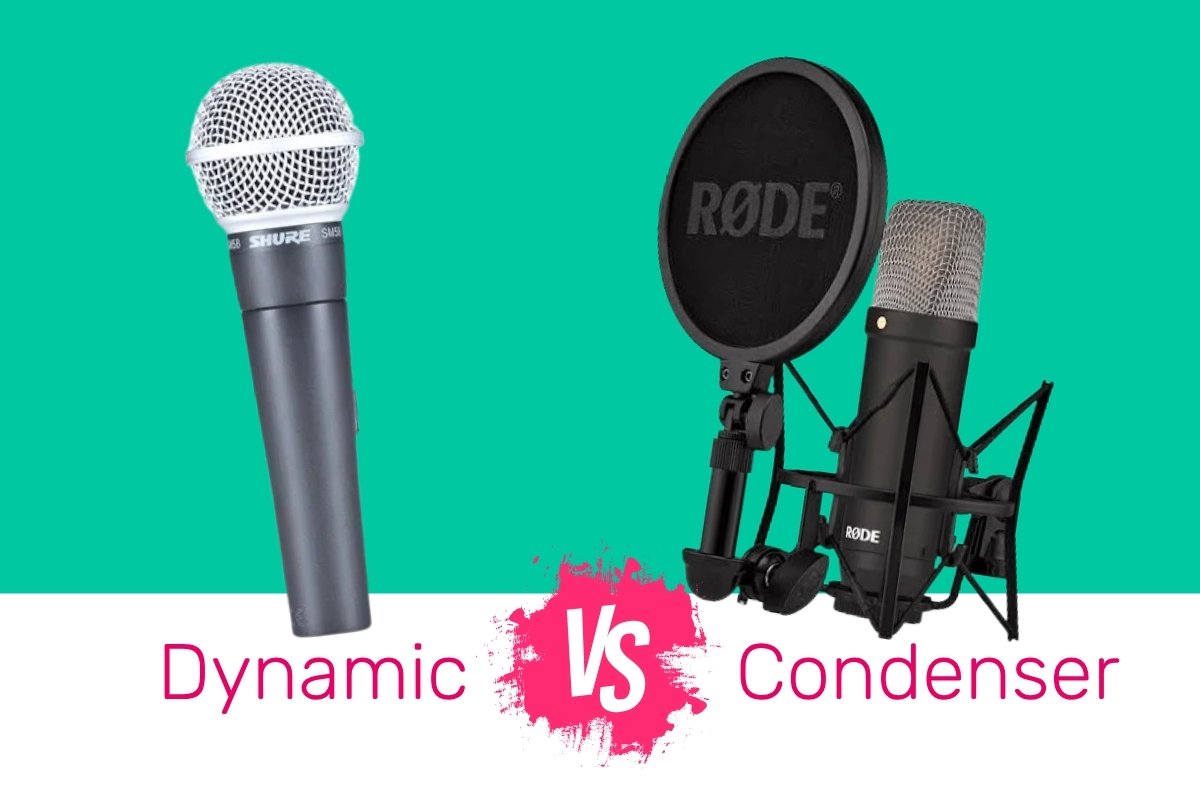
Choosing between a condenser vs dynamic mic for podcasting can feel overwhelming, especially with so many models, setups, and conflicting opinions. But finding the right match for your voice, space, and style is one of the most important decisions you’ll make.
Remember, there’s no one-size-fits-all podcasting mic. Your choice will depend on your recording environment, the number of speakers, your podcast editing skill level, budget, and portability needs.
Whether you're working with a podcast mic, a full podcast microphone for multiple speakers, or a solo podcast microphone, the key is understanding how your microphone for podcast recording interacts with your space, voice, and setup.
Let’s break down the pros and cons of each type. Having a better understanding of each of these microphone types will help you choose the best podcast microphone to fit your needs.
Condenser Microphones
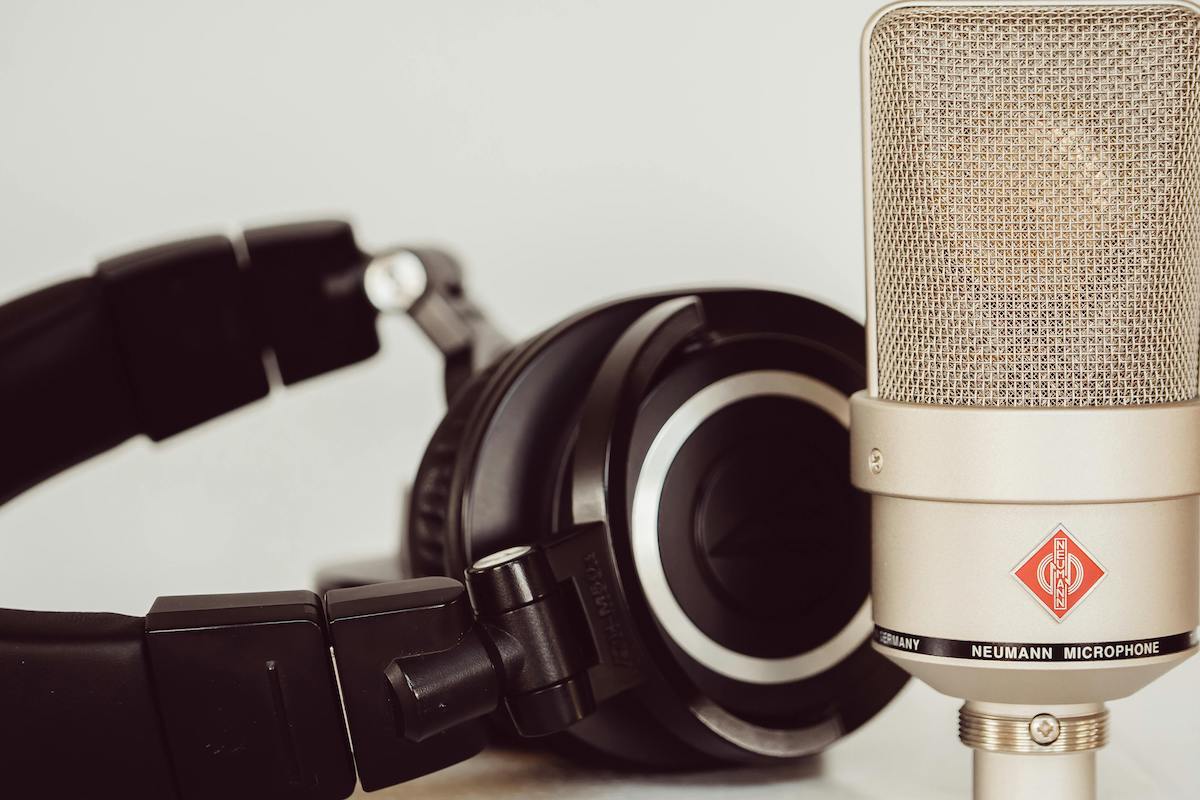
A condenser mic captures the full range of your voice with warmth and nuance. Condenser microphones are great for solo podcasting or voiceover work in a treated space. But that clarity comes at a price: they pick up everything.
You’ll need to record in quiet, acoustically treated spaces when using this type of microphone. Ideally, you will have a dedicated studio space.
Popular picks:
If you’re recording in a reflective room without treatment, you may end up hearing not just your voice, but your keyboard, fan, chair creaks, and even your breathing
Dynamic Microphones
A dynamic mic for podcasting is a rugged, reliable option for real-world recording. Dynamic microphones are ideal for home setups, shared recording spaces, and noisy environments. They're less sensitive than condensers, which means they focus more on your voice and less on your surroundings.
Dynamic microphones are best for untreated rooms (more on this later), group podcasts or interviews, and on-the-go or mobile setups.
Popular picks:
Dynamic mics are also perfect for podcast mics shared between multiple speakers. Many podcast microphones for multiple voices use dynamic capsules to manage sound levels evenly, especially in tiny desk microphone situations or close seating arrangements.
Headset and Niche Microphones: Specialized Tools

For creators on the move or doing live streams, headset microphone placement becomes critical. A proper headset mic placement ensures that your voice stays consistent even if you're shifting around. These mics are also great for interviews, gaming, or coaching-style podcasts where mobility is key.
Similarly, lavalier or in-mouth microphones (yes, that’s a thing in stage settings) aren’t typically used for podcasting, but the idea of mouth mic or face mic positioning is relevant. Never place your microphone in your mouth or directly against your microphone face; you’ll cause massive distortion. A pop filter should always separate your mouth from the microphone.
What’s a pop filter, you ask?
It’s that round thing in front of a microphone. It’s essential for avoiding plosives and breath pops, sometimes known as microphone bubbles. We’ll unpack this a little later.
Create The Optimum Podcast Recording Space

No matter how skilled you are on the mic or how much you’ve spent on your gear, it all falls flat if your recording space is working against you. A great podcast setup doesn’t require a pro studio, but it does need some thoughtful planning.
Your microphone is only as good as the space it’s in. A bright, echoey kitchen or a high-traffic hallway will ruin even the best mic setup. Look for a quiet, contained area where you can control your environment. Small rooms with soft surfaces are ideal. Bedrooms often work better than living rooms or open-plan spaces.
If you’re stuck recording in a tricky location, lean on proper microphone placement and dynamic mics to help isolate your voice.
What Is Acoustics and Do You Need Them?
In short, yes, you need to think about acoustics. Acoustics refers to how sound travels and reflects in a space. Hard surfaces like walls, glass, and tiles bounce sound around, creating reverb that makes you sound distant or boomy. That’s not the warm, intimate podcast sound you’re aiming for.
To improve your acoustics, you don’t need professional treatment. Just soften the room.
Soft Furnishings Are Crucial
One of the easiest ways to control echo and background reverb is with soft materials. Think of it like soundproofing on a budget.
- Hang thick curtains or tapestries.
- Lay down rugs (even better if they’re fluffy)
- Record in a walk-in closet (seriously, clothes absorb sound brilliantly)
- Use pillows or couch cushions as makeshift sound baffles
Even the placement of a desk mic setup can benefit from nearby soft materials to reduce surface reflections.
Cut Background Noise Before Recording
Prevention is always better than post-production. Before you hit record:
- Turn off fans, AC units, or anything humming in the background
- Close windows to block out traffic or bird noise
- Mute phones, smart speakers, and other alerts
- Use directional microphones to reduce ambient pickup
If possible, record at a quieter time of day or let housemates know you need a noise-free window. Every reduction in background noise gives your microphone a cleaner signal and your listeners a more focused experience.
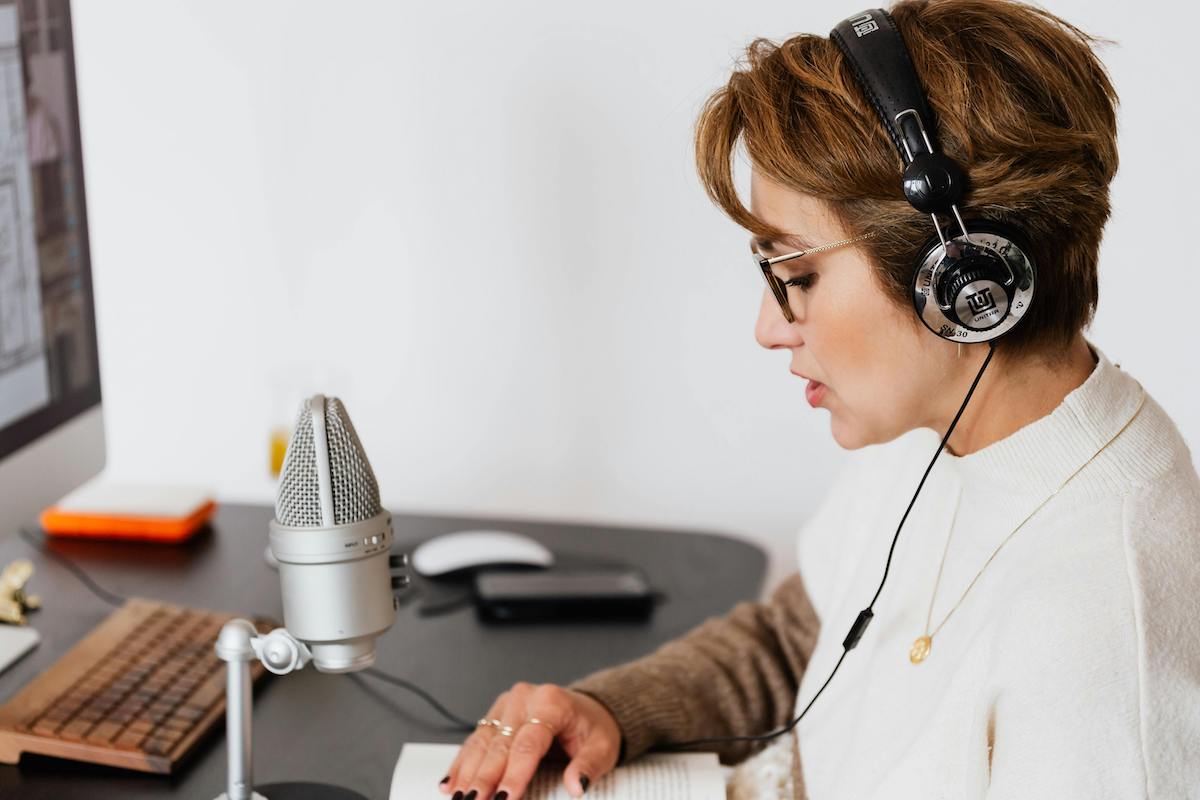
Speaking Tips When Using A Microphone
.jpg)
Great gear and a perfectly treated room can only get you so far. Your delivery still matters!
The way you speak into the mic affects clarity, energy, and listener engagement. Here are a few mic etiquette tips that will help you sound confident, natural, and polished.
Microphone Angle & Position
A small adjustment to your mic angle can make a big difference. Instead of speaking directly into the mic (which can lead to plosives), angle it slightly to the side, about 30 to 45 degrees off-center. This lets your voice reach the mic cleanly while avoiding harsh bursts of air.
We recommend not tilting your head toward the mic. Instead, let the mic come to you. Maintain good posture, and keep the distance consistent.
How Close To Your Lips?
Aim to keep the mic about 6 to 8 inches from your mouth. Too close, and you risk distortion and heavy breath sounds. Too far, and your voice will sound weak and distant.
Using a pop filter or foam cover not only reduces plosives but also helps you maintain a consistent distance—think of it as a soft boundary between your mouth and the mic.
Speak Normally
You don’t need to “perform” your voice or project like you’re on stage. Instead, speak as if you’re having a focused conversation. Let your natural tone come through, and vary your pitch and pace to keep things engaging.
Avoid rushing. Let your ideas breathe, and let your voice reflect your energy, not just your script.
Filler Words: Umm’s and Ahh’s
Filler words creep in when we’re thinking aloud or nervous. While some are natural and human, too many can be distracting. Becoming aware of your habits is the first step to reducing them.
Practice pausing instead of filling space. Silence often sounds more professional than “uhh...”
Don’t worry too much, though. Expert podcast production companies like Saspod can work magic in some cases.
Control Your Plosives
Plosives are those “p” and “b” sounds that hit the mic with a blast of air. They can make otherwise clean audio sound jarring. Use a pop filter, angle the mic slightly off-axis, and be conscious of how you articulate those sounds.
Think of aiming your breath past the mic rather than directly into it.
Take a Breath (but not too loud!)
Breath sounds are natural, but loud gasps or dry mouth clicks can be distracting. Try to breathe through your nose when possible and, most importantly, stay relaxed. Don’t be afraid to step slightly away from the mic for deeper inhales, but just make sure to return to the position before speaking.
Keep a glass of water nearby, and stay hydrated throughout the recording session.
Dry Mouth
That sticky, smacking sound? Often caused by dry mouth. It’s subtle in real life but magnified through a sensitive microphone.
Fix it by:
- Staying hydrated before and during your session
- Avoiding dairy or overly salty foods beforehand
- Keeping a sugar-free lozenge or green apple slice nearby (yes, really—voiceover artists swear by them)
Podcasting On The Go?
Whether you're interviewing someone at a festival, capturing audio for a travel podcast, or covering a live event, mobile podcasting comes with its own challenges. Without the luxury of a treated room or boom arm, your microphone technique becomes even more important.
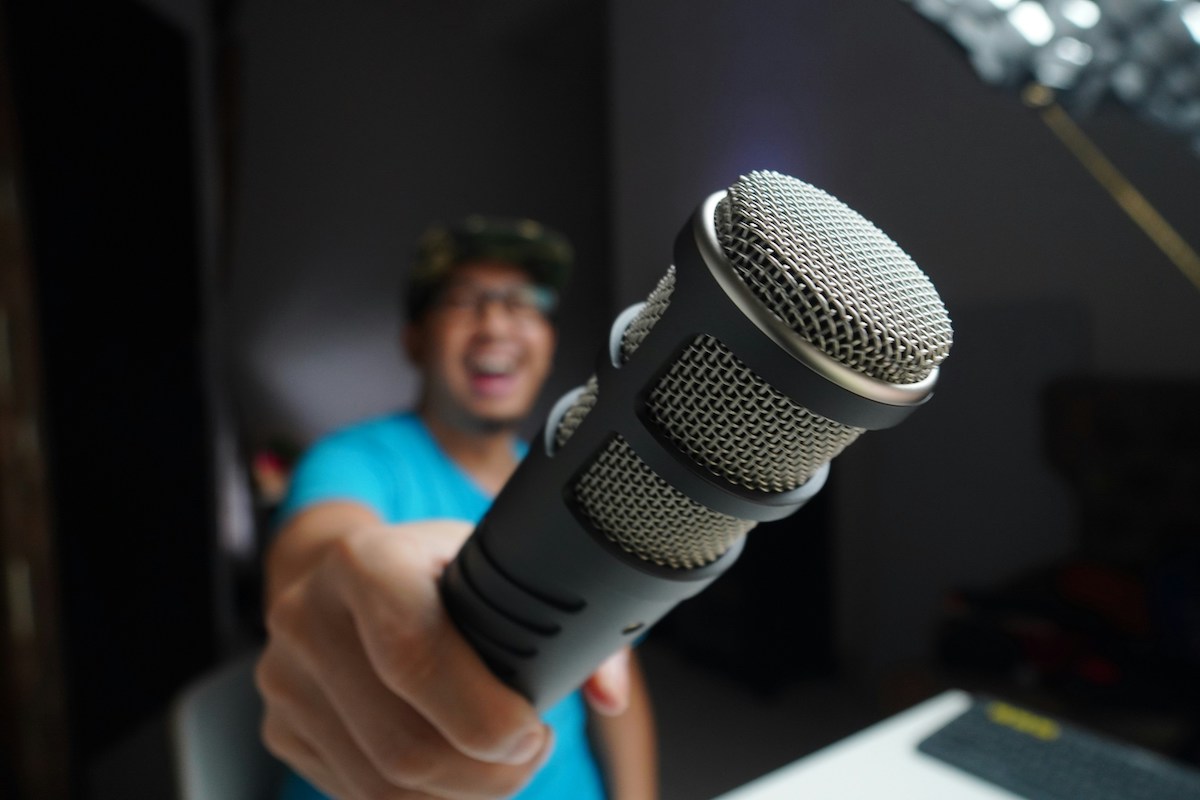
How To Hold A Microphone

Handheld mic technique can make or break your recording. Holding the mic too low, too far away, or too close to your mouth can all cause serious audio issues.
Here’s how to get it right:
- Hold it close, but not too close: Aim for about 6 inches from your mouth. Too close can cause distortion and popping; too far, and you’ll sound distant or get lost in the background noise.
- Angle it slightly off-center: Point the mic toward your mouth at a slight angle to reduce plosives and breath noise.
- Keep a steady grip: Avoid fidgeting or moving the mic around while someone’s speaking. Handling noise is very noticeable on recordings.
- Use both hands if needed: If you’re nervous or outdoors in the wind, using two hands can help stabilize the mic and prevent unwanted movement.
If you’re interviewing someone else, hold the mic between you both, or better yet, bring a second mic or lavalier setup to ensure consistent sound for both voices.
Top Tips For Recording Audio In The Field
Recording outside of your home studio doesn’t have to mean sacrificing sound quality. With a few small tweaks, you can still capture clean, professional audio, even on the go.
- Choose your location wisely and find a quiet corner or wind-sheltered space. Avoid high-traffic areas, echoey hallways, or noisy cafes if possible.
- Use a windshield or foam cover to help reduce wind noise and harsh plosives. Even a cheap foam cover makes a huge difference in outdoor environments.
- Bring a backup recorder, as field interviews can be unpredictable. Use your smartphone as a backup recorder in case of equipment failure.
- Still monitor your levels, and if possible, wear headphones while recording so you can catch background noise, mic handling issues, or dropped audio in real time.
- Get close and stay steady. In field conditions, close mic technique is your best friend. Stay close to the speaker, hold the mic steady, and minimize movement.
- Capture ambient sound intentionally if it will help tell your story. If part of your story involves capturing natural sound or atmosphere, record a few minutes of “room tone” or location ambiance to blend into your edit later.
Ready To Step Up To The Mic?
Mastering microphone technique isn’t just about sounding good; it’s about showing up with clarity, confidence, and professionalism.
Whether you’re podcasting from a home studio, recording interviews on the go, or fine-tuning your voice for a new show, small adjustments to your setup and speaking habits can make a massive difference.
Remember, you don’t need a high-end studio or the most expensive gear to create quality audio. You just need a solid understanding of mic placement, distance, and delivery, and a willingness to test, tweak, and improve.
Book a free discovery call with Saspod to get personalised help with your podcast setup and learn how we can support your production needs from launch to editing to growth.
Schedule your call now and let’s make your podcast sound as good as it deserves to.
Comments
No comments yet!