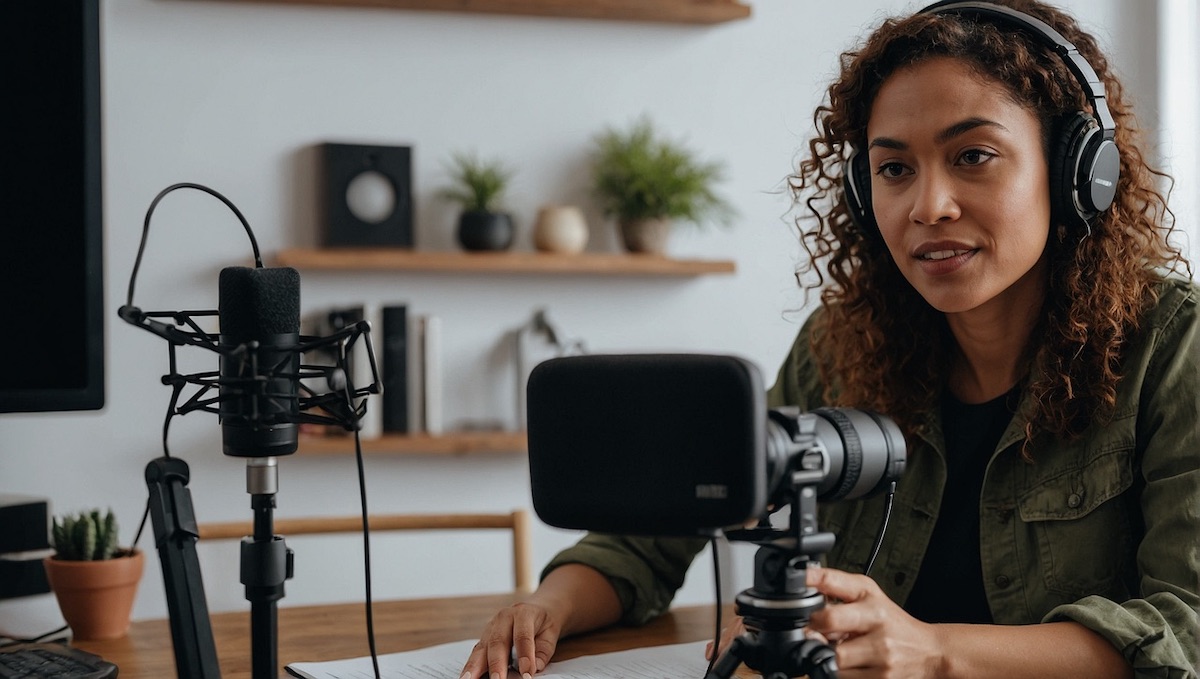
Editing your podcast may be an option for those who have the time to do it or prefer a more DIY approach. In this article, we will explain to you step by step how podcast editing works so you don’t fall into the pitfalls many beginner podcasters do. Before we begin, I would like you to prepare yourself with a great deal of patience. Editing a podcast can be a pleasurable process, but it can also get frustrating at times. Here is a comprehensive guide to podcast editing.
What is podcast editing?
Podcast editing, or sometimes referred to as podcast post-production, is a major step in the podcast production process, in which podcast producers edit parts of the recorded podcast to improve the flow, intelligibility, and the overall podcast listening experience. This step helps to reduce the length of the show, cut out unnecessary podcast content, and remove distracting noise. When we talk about podcast editing, we typically refer to audio editing or dialogue editing; however, in recent years, this term has also been used to describe podcast editing as in video editing, which can create a little confusion. In this article, when we refer to the term podcast editing, we strictly refer to audio editing or dialogue editing.
What podcast editing software should you use?
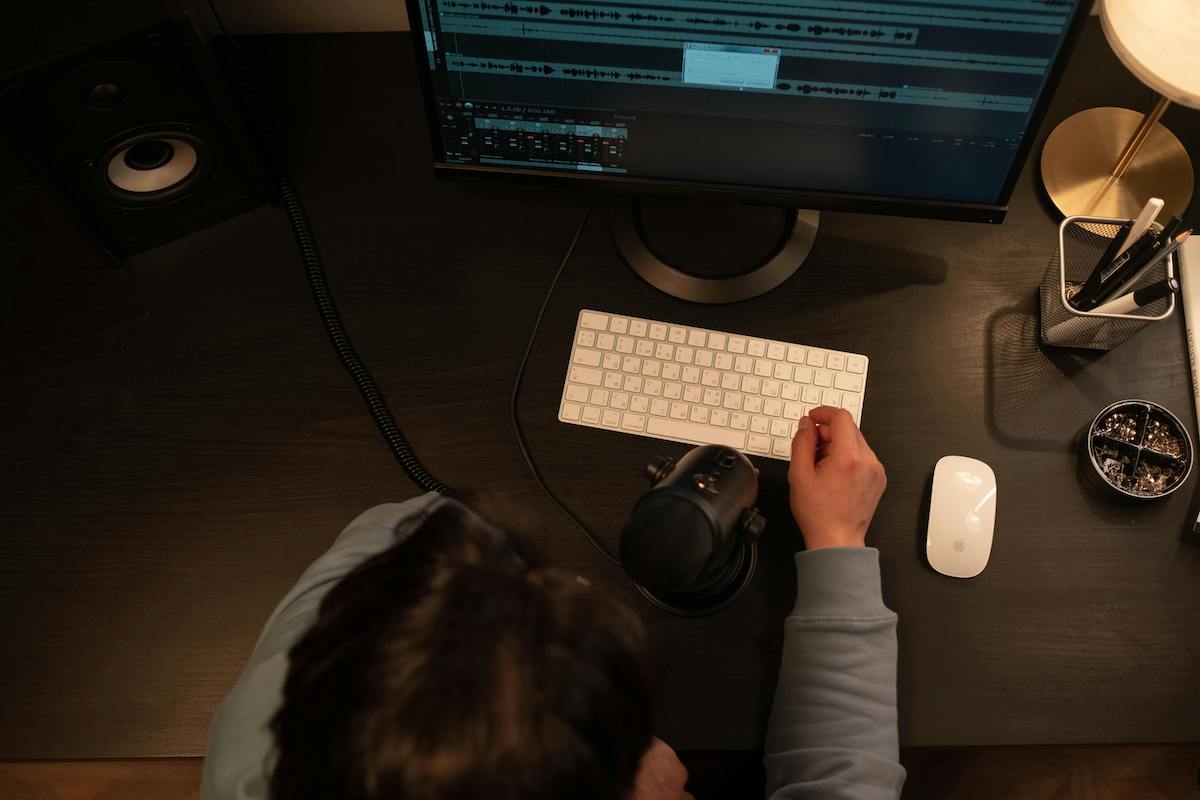
To master the craft of podcast editing, you must learn how to use a DAW (In our industry sometimes referred to as a "podcast editor", or "podcast editing software").
A Digital Audio Workstation (DAW) is an application that typically runs on a computer, enabling you to manipulate audio in various ways. You can do basic things like slicing, trimming, merging, fade in, fade out, layering or complex things such as eq-ing, compressing, limiting, clip detection, gating, de-noising and many more…
There are many options out there, both free and paid. We do not recommend one over the other; we believe that whatever you learn to use will work well for editing podcasts. Here at Saspod, we use Cubase 10, an amazing premium software.
Here is a quick list of software to choose from:
Audacity (FREE and podcaster’s choice; the only downside is “destructive edit”)
GarageBand (FREE, available only on Mac)
Ardour (FREE)
Adobe Audition (Subscription 19.97£/month)
Studio One (Rent To Own 16.99$/ for 24 months) (Really good deal here)
Cubase (One Time Fee 500£)
ProTools (One Time Fee 479£)
Sound Forge 15 (299$)
Mixcraft (149$)
Reaper (60$ Non-Commercial Usage, 225 For Commercial Usage)
Descript (Subscription from 0-24$/month)
And there are a lot more out there, so keep exploring!
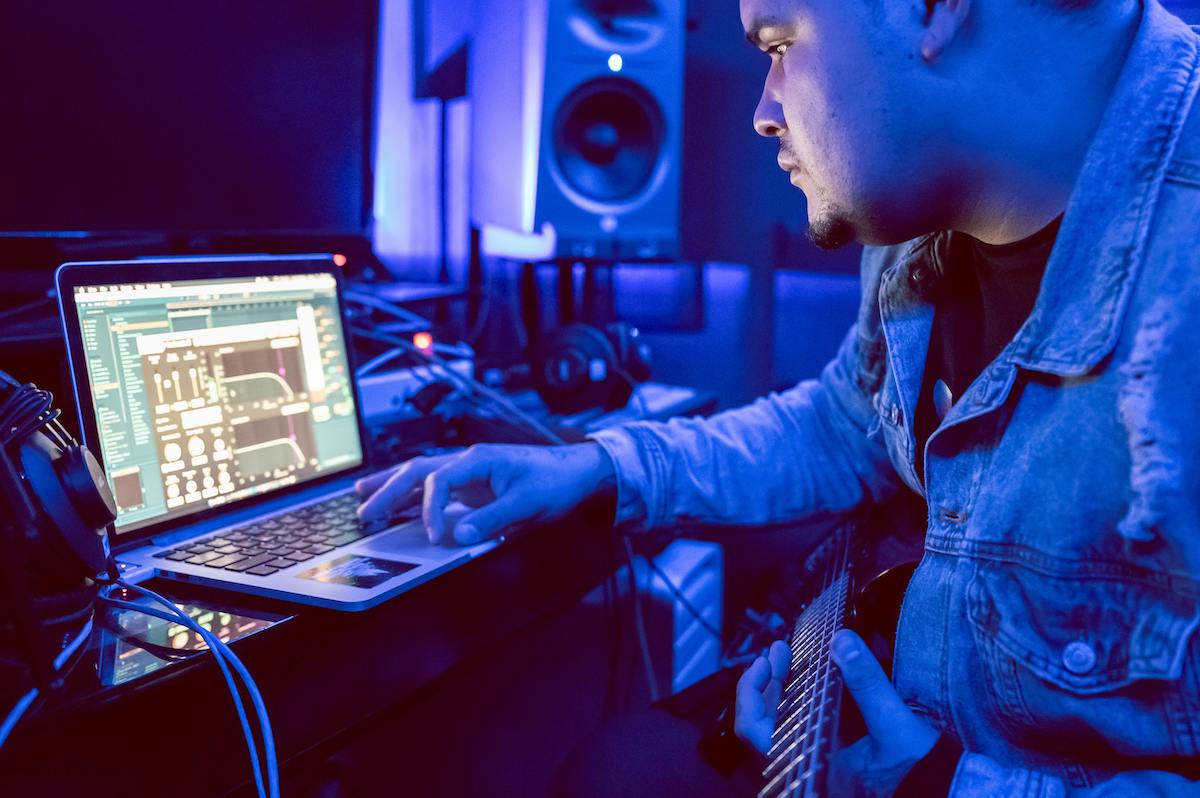
Record High-Quality - Before Editing
Many believe that podcast editing begins once the files arrive. In fact, before editing a podcast, it is essential to understand why recording correctly is so important. Let’s face it, if the recording is done right from the get-go, there isn’t a lot to do other than just basic editing, and you’re ready to go. Unfortunately, this is not always the case! Especially in the days of remote podcast recording.My point is that if you learn to record correctly, your job as a podcast editor would become a lot easier.
File Preparation Before Editing
Labelling your files is extremely important, whether you edit your podcast or others'. There is nothing worse than losing a file or project you worked on for hours. Believe me, this happened to me once as well…and what a nightmare that was. You have to come up with a labelling standard/protocol.
Because you got this far in the article, I will share my own with you!
Let’s say you edit a podcast called “Real Estate And Good Life” (Such a boring name, I know; it took me 1 minute to think of it), but bear with me! Let’s also say that the podcast you edit is episode 145, and they have as a guest named Mr. “John Lewis,” a “real estate expert”. This podcast was submitted for editing on the 10th of July 2025.
My labelling would look like RAGL_145_JohnLewis_10VII25.. You will notice that the file's name already contains some important information about the podcast. We abbreviated the name, we included the episode number, a tag, in this case, our guest’s name, and the date of the recording. You can add additional information, such as the sample rate/bit rate of the recording and the channel number. Whatever you choose, make sure that it works great for you and makes sense.
It is a good idea to do a skipped audition of the recording before getting on with the edit. Listen to the beginning and end of the file to ensure all the content is included. Although rare, recordings can stop unexpectedly, or things can go missing from the main file. Make sure that nothing is missing and go to the next step.
Convert Stereo files to Mono! Sometimes, many of my clients, in a rush, record the files in Stereo instead of Mono; this does not affect the quality of the recording in any way but consumes unnecessary space on your drive without adding any extra value in exchange.
Create a main folder with all the relevant files of that podcast such as the intro, outro and ads, please don’t forget to label things correctly.
Basic Podcast Editing Techniques You Should Learn
Most controls are generally similar across all DAWs. If you know these controls, you will be able to start navigating through your software and ultimately get something done.
Import / Export Files:
Learn how to add or export/bounce files in and from your DAW. This is usually done via a menu option of some sort.
Delete:
This is relatively straightforward, and most DAWs use the “delete” or “backspace” buttons to do this.
Cut:
Usually, it is done via a shortcut; most of the time, CMD+X/CTR+X
Undo/Redo
This is often in the form of a shortcut such as “CMD+Z /CTR+Z” for Undo and “CMD+R/CTR+R” for Redo.
Play And Stop:
Very often, the spacebar controls this option
Splice a file:
Usually, this is done via a shortcut or via a tool that can be found somewhere on the panel of your DAW. A lot of times, the tool is in the form of a scissors icon.
Move/Drag:
Move a certain part of the file by clicking on it and dragging it left and right.
Fade In / Fade Out / Crossfade
This one can be different on all DAWs, so consult the manual for this.
Shuffle Mode:
Each DAW should have an option whereby, by cutting a certain section of the audio file, the remaining bits would merge automatically.
Clip Gain:
On the audio form, you should have a parameter control of some sort that allows you to change the volume of that particular section of the audio file.
Trimming:
This is usually done by clicking on the far end or start of the audio waveform and dragging left or right.
Save Project:
Usually it is done via a shortcut, most of the time CMD+S or CTR+S or by navigating in the top menu.
Here is a helpful tutorial on how to apply these editing techniques in Audacity.
Audio File Formats
You will work with audio, so knowing precisely what format is best to use while editing a podcast will give you better results. Generally, as a rule, you will want to work with WAV files while podcast editing. Ideally, you would use raw uncompressed files at a sample rate no lower than 44.1khz and a bit rate of no lower than 16 bits. After finishing the podcast, you will want to export that file to MP3 format with a resolution of 320/kbps or 192/kbps.
How To Use EQ In Podcast Editing
EQ stands for equalisation, and it is the process by which the audio engineer eliminates specific frequencies throughout the entire audio file. A human can hear frequencies between 20hz and 20000hz (20khz). Frequencies below and above are considered subsonic or ultrasonic frequencies, and the human ear can’t perceive them. Now, a talking voice can range from about 150Hz to 20 kHz in frequency, but specific frequencies in between can be more prominent than others, and they can sound out of place.
For example, if your voice sounds muffled, it is likely due to a lack of high frequencies, typically between 3k and 20k. If your voice sounds harsh, on the other hand, it may be due to the excess of high frequencies. EQ also allows us to remove specific problems such as ringing, low rumble, harsh consonants and more. Usually, DAWs, especially the paid ones, include an EQ.
The basic parameters of the EQ are:
Bands: The ability to choose a particular band in a specific frequency range
Boost/Cut: The ability to boost or cut a particular range of frequencies
Low Cut: A form a band could take; it applies a cut from 20Hz to a specific frequency higher than 20Hz.
High Cut: A form a band could take; it applies a cut from 20khz to a specific frequency lower than 20khz.
Parametric/Bell: A form a band could take which allows you to choose a specific frequency range to boost or attenuate it.
Low shelf: A form a band could take which allows you to cut/ boost from 20hz to a specific frequency higher than 20hz.
High shelf: A form a band could take which allows you to cut/ boost from 20khz to a specific frequency lower than 20khz.
It is a potent tool, and it deserves its own article.
How To Use Dynamic Compression In Podcast Editing
In this instance, the term compression is not used for converting a WAV file to an MP3 file in order to reduce its size, but it is a process by which an engineer will attenuate the dynamics of a file so it sounds more consistent throughout. We could talk quietly and loudly, whispering and laughing; all these things can happen in a podcast. To ensure that the listener hears everything that is said and is not instantly overwhelmed by a loud, unexpected laugh, the engineer must take a few steps to correct this during the podcast editing process.
In short, a compressor reduces high levels and amplifies low levels, ensuring everything sounds linear. All major DAWs come with a default compressor.
Basic Parameters Of The Compressor Are:
Threshold: A parameter that allows you to set at what particular amplitude the compression should be triggered.
Makeup Gain: A parameter that allows you to compensate for the loudness lost during compression.
Attack / Release: Controls over the timing of the compressor. Attack: how long until the compression is triggered. Release: how long until the compression stops responding.
This tool again deserves its article, what I describe here is very basic language and theory, but in practice, it is very much different.
Stitching in the Intro, Outro and the Ads
Keep a natural transition between your main body podcast and your intro, outro and ads. To do this, learn how to perform volume automation in your DAW. Volume automation is an important tool in podcast editing, enabling you to control the volume of a track in time.
Sometimes stock songs don’t match 100% the length of your voice-over. To solve this problem, learn how to loop a track! You can take a section of a track that sounds like it would be loopable. These sections are usually steady without an increase in volume or the number of instruments used. Most often, tracks are written in a 4/4 time signature, which means that the first accent of a track happens every 4 beats. You will want to choose a 4-beat section or a multiple of 4, like 8 beats or 16 beats.
What is Podcast Mastering
Although a separate process in other productions, mastering is integrated as a final step in podcast editing.
It is known that in podcasting, the -16 LUFS is the industry standard, but what does this mean, and how can it be achieved?
The LUFS stands for Loudness Units Full Scale, and it is a measurement protocol; we won’t get into too much detail now, but in a sense, this protocol is closer to what a human ear hears. You see, we don’t perceive loudness very linearly. This was demonstrated by a study conducted by Fletcher and Munson in 1933, so experts had to come up with a measuring method that reflects our hearing and not a digital interpretation of the wave file. When you look at your meter in your DAW, you will notice that it responds to every single pick of the wave; a LUFS measurement doesn’t do that. A free tool that allows you to measure the LUFS of a file is Youlean Loudness Meter.
You can achieve these levels through limiting, which is very similar to what a compressor does, but in a more aggressive way.
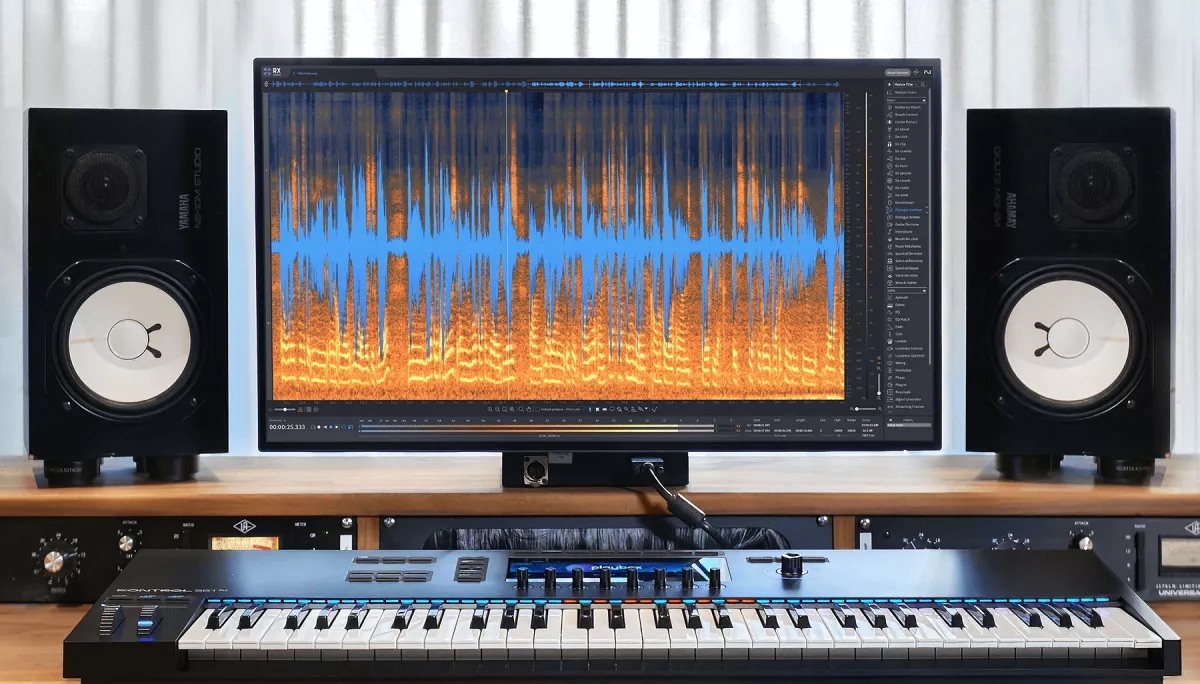
Edit A Podcast Using iZotope RX
iZotope RX is a potent tool, and it solves a lot of podcasting problems. RX allows you to remove background noise, de-reverb recordings, and remove hard consonants or plosives; it can really do it all. iZotope RX is like Photoshop but for audio; however, it comes at a very pricy cost: 399$ for the standard version and 1199$ for the Advanced version. However, you can buy it rent-to-own from websites such as splice.com by paying a monthly fee of only 15.99$. Unfortunately, the Advanced version is not included in the rent-to-own program. Other tools similar to iZotope RX are Adobe Audition and Spectral Layers.
These tools are highly complex, and you need a lot of knowledge to get the hang of them. The path to learning podcast editing is not easy.
ID3 Tagging
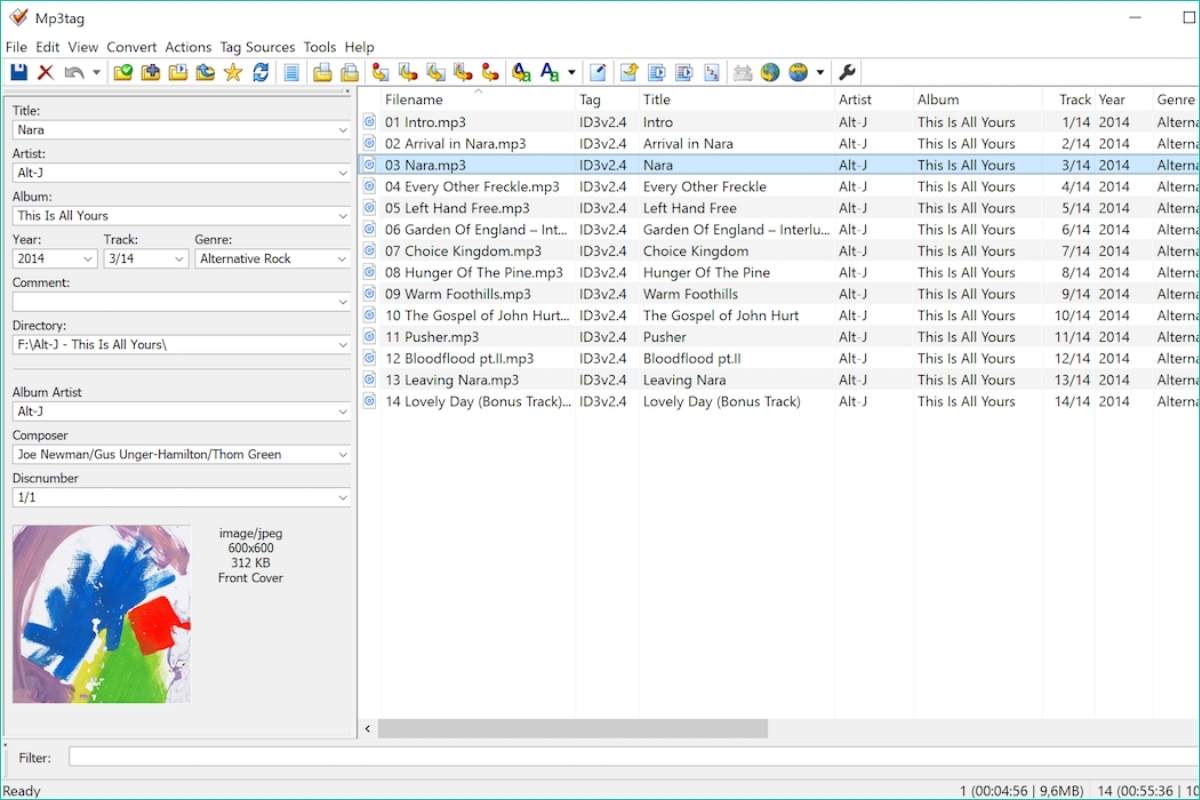
It's not necessarily a requirement anymore, but it is a good practice to get into. ID3 tag is a piece of information that you embed into the mastered mp3 file. You can include information such as the year of production, copyrights, genre, artwork and more. A FREE tool that allows you to do just that is MP3Tag.
Listen to the edited podcast on different devices
Another important aspect of podcast editing is listening. You will need to experience what your listeners experience, so after you edit your podcast, it is time to put your podcast to the test. Listen to your podcast on your phone, tablet, laptop, Bluetooth speakers and in your car. It is important that you do this test in comparison to other well-sounding podcasts. This will give you a certain insight into what your listeners will experience. If you feel that your file sounds as good as your competition on your headphones or main speakers, but it doesn’t sound as good on other consumer-type devices, you’ll probably need to look into this more and correct the issues. Most probably, the EQ-ing aspect is not 100% done right.
Should I Hire A Podcast Producer?
If you have the budget, you can hire a podcast producer or a podcast production company that will edit the podcast for you. Not only will you get a great-sounding podcast, thanks to professional podcast editors, but you'll also have more time to focus on what you do best: creating content and recording. We would highly recommend exploring Saspod's podcast editing services.
What is Text-Based Podcast Editing?
A new wave of podcast editing tools is emerging in response to the increasing number of DIY podcasters entering the industry. Tools such as Descript or Riverside .fm are good options for podcasters seeking an easy-to-use podcast editing solution. With text-based podcast editing, you can edit audio by cutting text; it's as easy as editing a Word document.
There are advantages but also disadvantages. When editing with such tools, you have limited creative control, and they lack features found in established DAWs.
Books on Audio Mixing & Audio Editing
Whatever software you choose to use, you will need to learn it. Start by reading the manual! (I know it is boring, but that’s free, real information right there; you will be amazed at what your software can do). Buy a course or watch YouTube tutorials on how to edit a podcast.
Another thing you can do, although old school, is to read books about your DAW; there are a lot of them there. I will recommend a few:
Podcast editing can be a time-consuming process. As a general rule, it can take 3 times the length of the file. So if your podcast is 1 hour long in raw recording, podcast editing can take as much as 3 hours.
Should I cut all the filler words, breaths and pauses?
This is typically a matter of podcast editing preference, and there's no right or wrong answer. In our opinion, the podcast should remain natural and conversational; over-editing can strip the human element from the conversation.
Bogdan Bratis
CEO & Founder of Saspod. Podcast Producer & Digital Marketing Expert. I'm based in Glasgow, where on the side I play keyboard in function bands throughout Scotland, and I'm addicted to coffee.


Comments
No comments yet!